Let us show you how to use Google Earth in different ways to enhance and adjust your property lines.
Download Google Earth For Free


After your property lines have been drawn, click the "Google Earth" button to download your .KML file
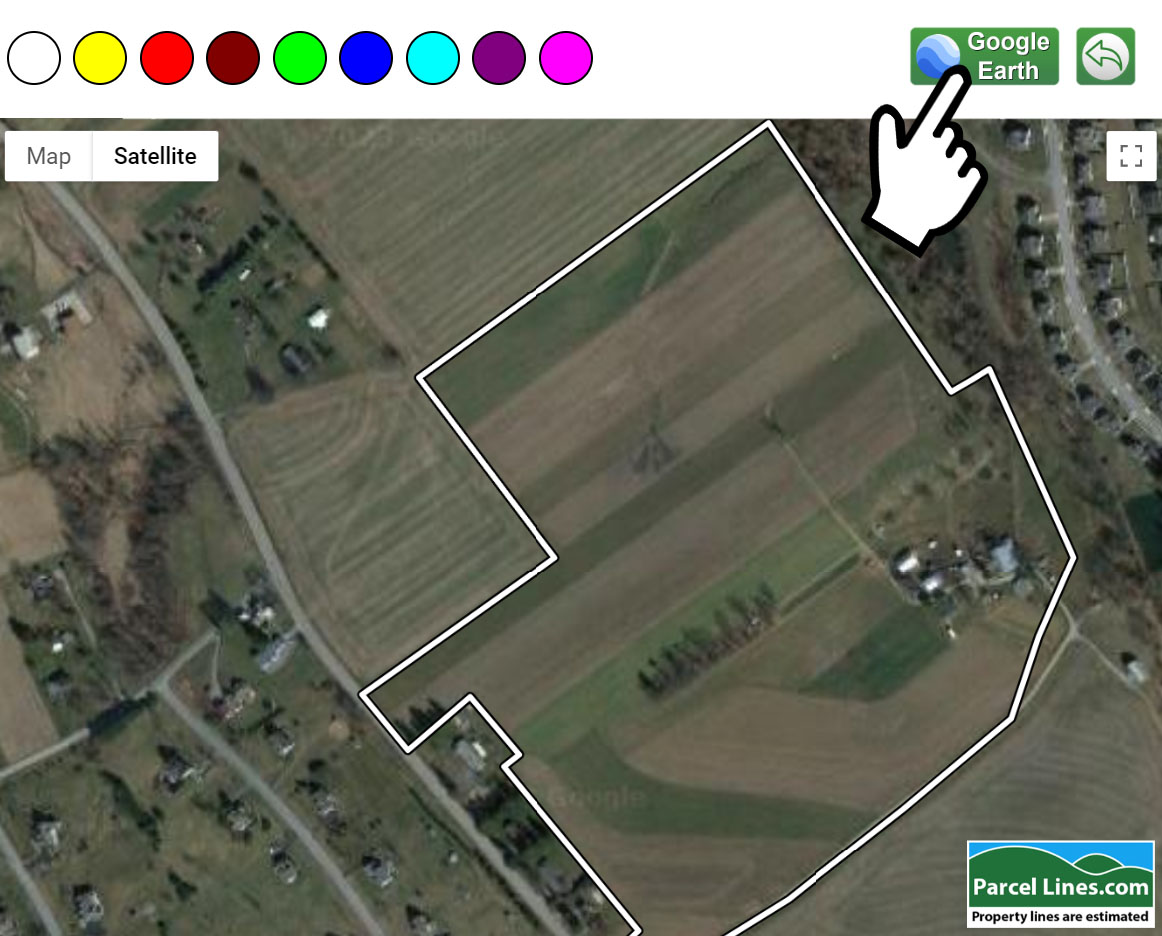
If you're on a computer, opening this file will open Google Earth for you (if installed) and display your property lines. If you're on a mobile device you can either use the "Open With" option or by running the Google Earth app, open the menu (top left), choose "Projects" and find your KML file. You can open multiple KML files and they will add to what you already have open. This is great if you'd like to show multiple parcels grouped together. This file cannot be loaded into the Google Earth website application, you must download either their desktop or mobile app.
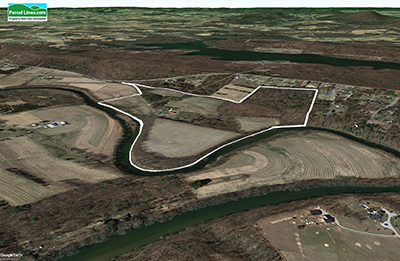
Now you can tilt pan and turn your view while seeing your property lines follow the contour of the land. If you're using the mobile version of Google Earth you use two fingers to pan, turn and tilt your view.
Everything below this can only be done on the desktop computer version of Google Earth. The mobile app is somewhat limited but can be useful if you need a quick screenshot on the go.
If you'd like to move or delete any of the corners of your outline you'll need to open the "Properties" for this outline.
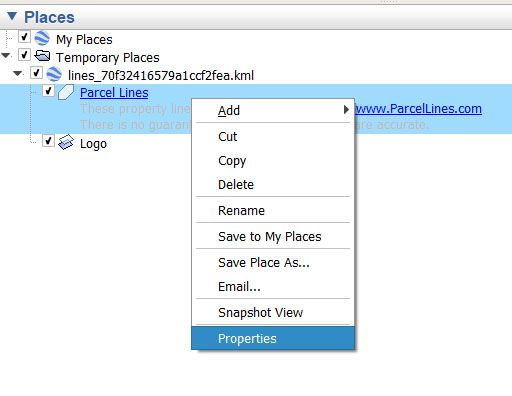
You will need to have this window open to adjust the lines. You can also open the "Style, Color" tab also to change the thickness, color and other attributes. You may need to over-exaggerate the line thickness to see them better as saved images. To move or delete a corner of your outline, just click and drag one of the colored "nodes" or click and press "DEL" on your keyboard to remove it.

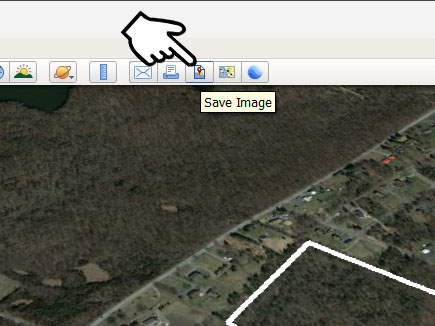
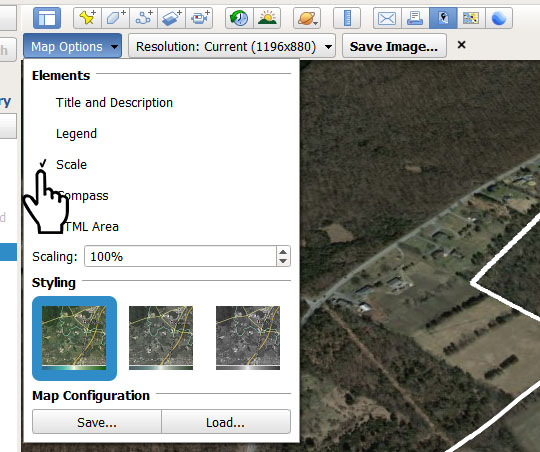
To save the view with your property lines you'll want to click the "Save Image" button on the top menu. You can also open "Map Options" to remove some unwanted features from being seen on the image. This is much better than taking a screenshot as Google Earth will render the entire scene at it's highest quality.
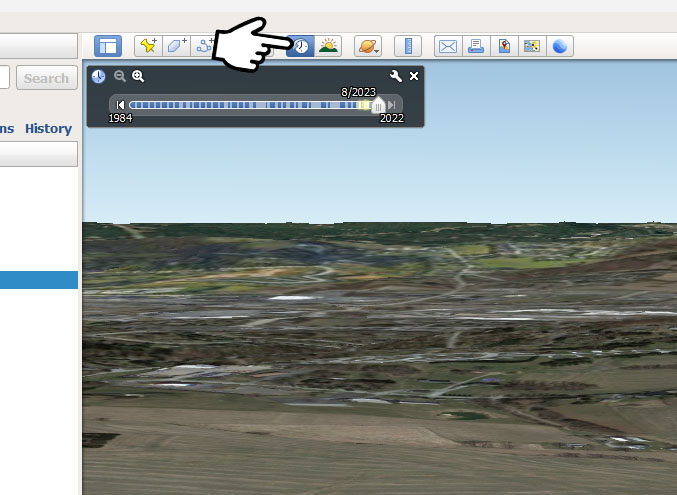
Using the "Historical Imagery" option in Google Earth can give you a different look at the property and surrounding area. This can be helpful to show imagery that was captured during the summer season and the trees were all green. Or you can compare an area to what it looked like before being developed.

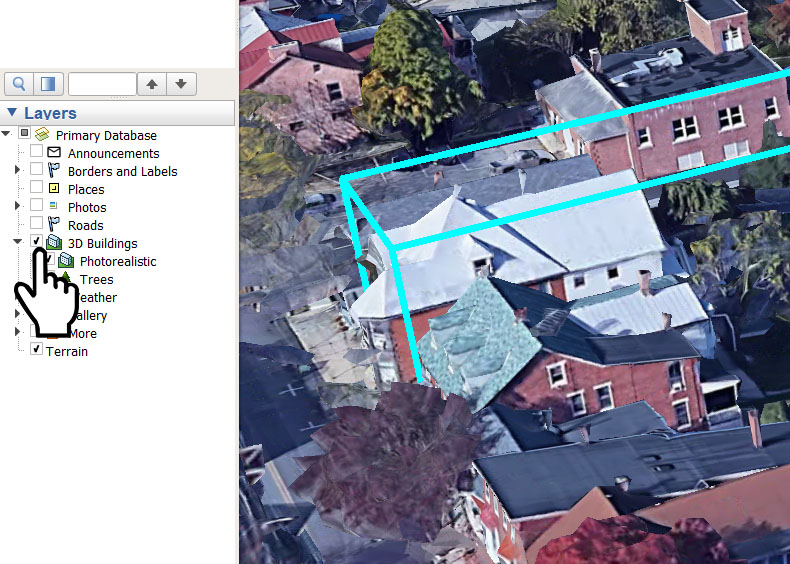
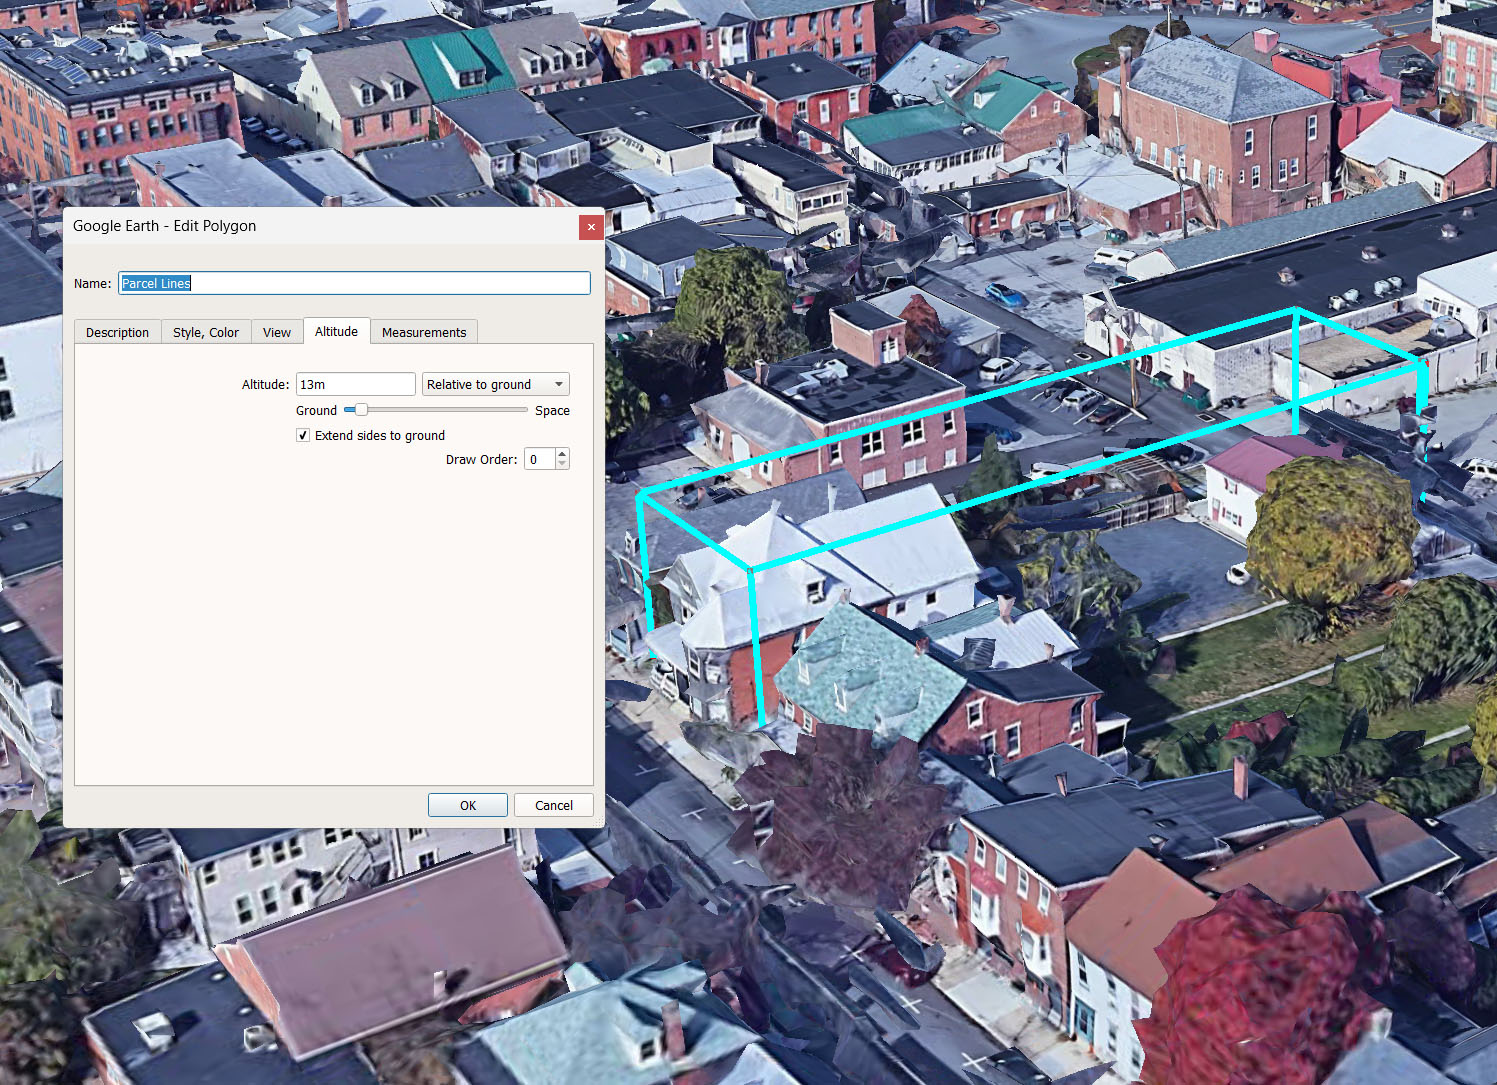
Enabling "3D Buildings" is supported in some areas but not all. You can use this to create virtual aerial imagery from any direction or altitude. Your property lines may disappear as they are clamped to the terrain but you can fix this in the "Properties" we looked at earlier. You can go to the "Altitude" tab and change from "Clamped to ground" to "Relative to ground" and set the altitude of the lines to be around 13-15m or higher. Then you can check the box that says "Extend sides to ground" to give the floating property lines legs. If there are extra corners that you don't need you can delete them as shown earlier.